Garlic is one of the easiest and most rewarding crops to grow at home. Not only does it add bold, aromatic flavor to your meals, but homegrown garlic packs far more punch than the bland, chemically-treated garlic you’ll find in most grocery stores—especially the mass-produced varieties imported from China.
With just a little space and patience, you can grow a year’s worth of flavorful, chemical-free garlic right in your own garden. In this guide, we’ll cover everything you need to know about how to grow garlic successfully—from when to plant to how to harvest and store your bulbs.
Why You Should Be Growing Garlic at Home?
- More flavor: Homegrown garlic is noticeably stronger and richer in taste.
- Avoid chemicals: Most store-bought garlic is bleached and sprayed with preservatives.
- Save money: Grow once, save (and replant) year after year.
- Easy crop: Garlic is low-maintenance and requires minimal effort after planting.
When and Where to Plant Garlic
Best Time to Plant
Garlic is traditionally planted in the fall, usually a few weeks before the first hard frost. Fall planting gives garlic time to establish roots and results in larger bulbs at harvest.
You can plant garlic in early spring, but fall-planted garlic tends to be hardier and more productive.
Ideal Growing Conditions
- Soil: Well-drained, fertile soil with a pH between 6.5 and 7.0
- Sun: Full sun is ideal, though garlic will tolerate partial shade
- Drainage: Avoid soggy areas—raised beds work well
How to Plant Garlic
Garlic Doesn’t Grow from Seeds (Usually)
Most garlic is grown from individual cloves, not seeds. Each clove planted becomes a full bulb by harvest. Most cultivated garlic is sterile and doesn’t produce viable seeds.
Step-by-Step Garlic Planting Guide
- Prepare the soil: Loosen soil to 12 inches deep and mix in compost or well-aged manure.
- Separate bulbs: Gently break apart garlic bulbs into individual cloves—do this just before planting.
- Plant the cloves:
- Place them pointy side up about 4 inches deep
- Space each clove 6–8 inches apart
- Mulch well: Cover with 3–5 inches of organic mulch like straw, shredded leaves, or hay.
Watering and Mulching Garlic
- Water regularly: Garlic needs about 1 inch of water per week until early June.
- Stop watering in June: This helps bulbs dry out and firm up before harvest.
- Mulching tips: Mulch helps retain moisture, suppress weeds, and protect cloves during winter. In wet years, consider removing mulch to avoid rot.
⚠️ Watch for pests like voles or rodents that hide under mulch and may nibble on your garlic.
Garlic Scapes: What They Are & Why to Cut Them
By mid-June, hardneck garlic will send up scapes—curled flower stalks. These should be cut off so the plant puts more energy into bulb formation.
Bonus: Garlic scapes are edible! Use them in pesto, stir-fries, or sautéed as a flavorful veggie side.
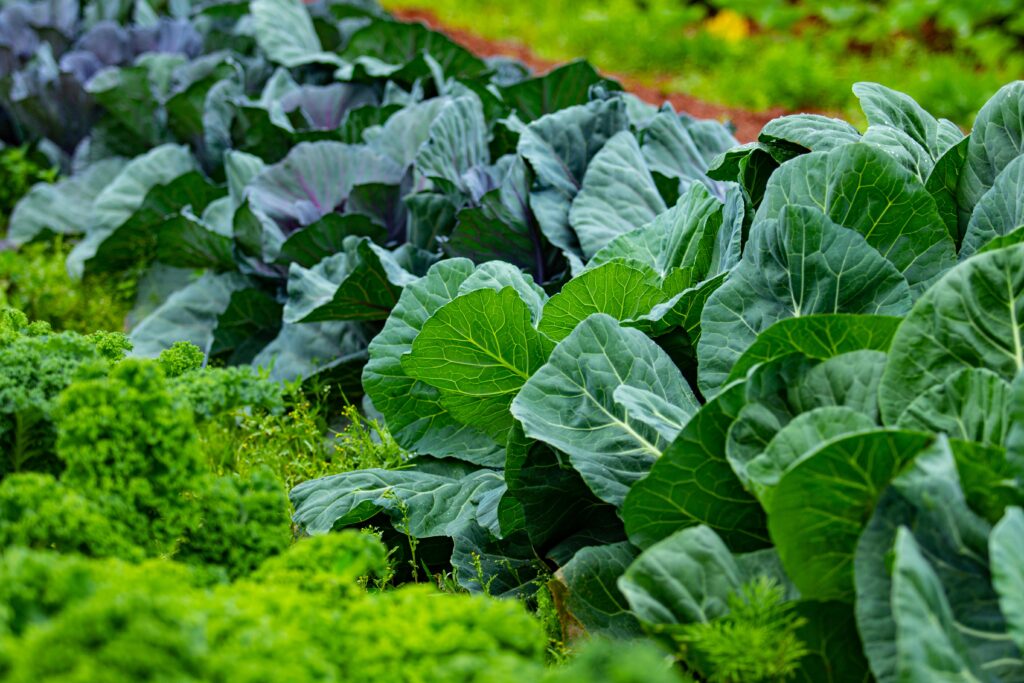
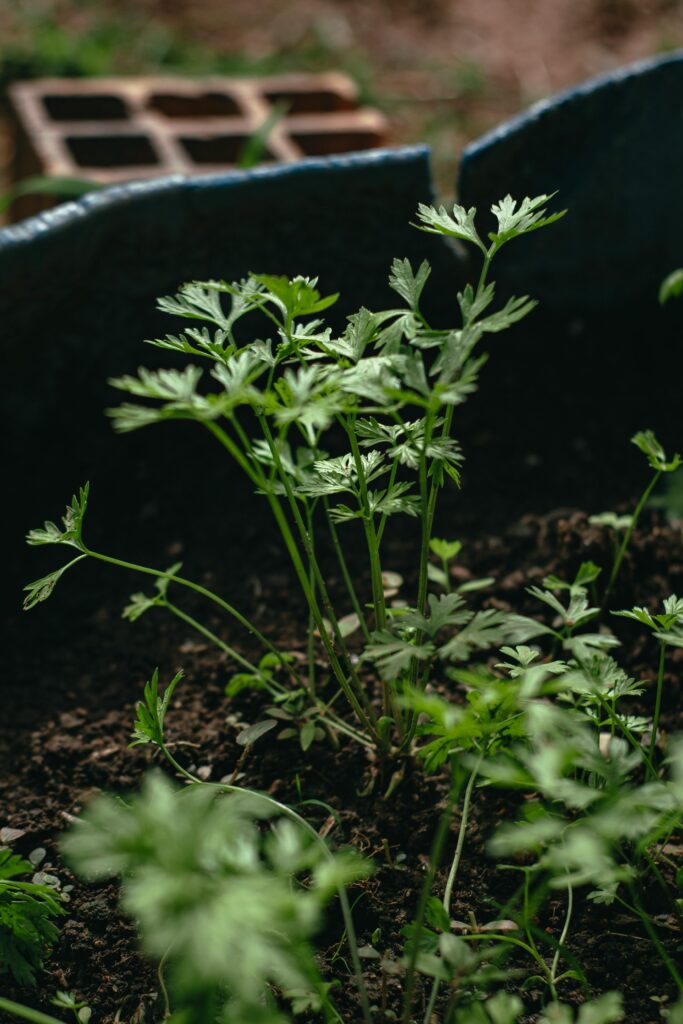
Companion Planting and Crop Rotation
Best Garlic Companions
- Good neighbors: Rue, chamomile, carrots, beets
- Avoid planting near: Beans, peas, asparagus, and parsley
Rotation Tips
Rotate garlic to a new garden bed each year to prevent disease buildup and nutrient depletion.
Common Garlic Pests & Diseases
- Onion Thrips: Tiny bugs that chew leaves. Use sticky traps or mow surrounding weeds to deter them.
- Onion Root Maggots: Larvae feed on roots. Dust planting areas with diatomaceous earth in early spring.
- Fusarium Root Rot: Causes stem rot. Prevent by planting in well-drained soil and avoiding root damage.
Harvesting Garlic
When to Harvest
Garlic is ready by mid-summer, typically July. Look for these signs:
- Lower leaves are dry and brown (1/3 to 1/2 of the plant)
- Soil is dry and loose
How to Harvest
- Loosen soil with a digging fork—don’t pull garlic by hand!
- Gently lift bulbs from the ground to avoid bruising
How to Cure and Store Garlic
- Curing: Dry garlic in a shaded, well-ventilated space for 2–3 weeks.
- Cleaning: Brush off dirt gently. Don’t remove outer papery layers.
- Trimming:
- Hardneck garlic: Cut stems after curing
- Softneck garlic: Leave stems on to braid for storage
Storage Tips
- Ideal temp: Around 60°F
- Store in mesh bags, braids, or crates in a cool, dry, and dark place
Properly cured garlic can last 8+ months in storage.
Saving Garlic to Replant
Keep your best and biggest bulbs for replanting in the fall. Don’t separate cloves until just before planting to maintain viability.
Over time, your garlic will adapt to your local climate—meaning better yields and healthier plants year after year.
Choosing the Right Garlic for Your Climate
1. Softneck Garlic
- Best for mild winters
- Doesn’t produce scapes
- Strong flavor and great for braiding
- Examples: Artichoke, Creole
2. Hardneck Garlic
- Great for cold climates
- Produces scapes
- Milder flavor, fewer but larger cloves
- Examples: Porcelain, Purple Stripe, Rocambole
3. Elephant Garlic
- Huge bulbs and mild flavor
- Technically a type of leek
- Cold-hardy with deep mulch
Extra Tips for Garlic Growing Success
- Soak cloves before planting in a mix of water, baking soda, and liquid seaweed for disease resistance and strong root growth.
- Try multiple varieties to see which performs best in your region.
- For garlic greens, plant whole bulbs in fall and harvest greens in early spring.
- Practice crop rotation to prevent pests and soil depletion.
Final Thoughts
Growing garlic is a low-effort, high-reward addition to your home garden. Once you plant it in the fall, nature does most of the work. Come summer, you’ll be rewarded with a rich harvest of delicious, potent bulbs that keep well into the next season.
Whether you’re looking to cut your grocery bill, avoid chemically treated imports, or just want the freshest flavor in your cooking—growing your own garlic is one of the smartest gardening decisions you can make.